In order ought truly delete files and news from your difficult drive, youâll absence ought fill the space those files once occupied. Pressing the Delete key and emptying the Trash bin wonât chop itâsensitive files could however exist retrieved by hackers and security experts. Macs learn a built-in utility ought completely inspire deleted files from your difficult drive, however Windows users will absence ought install third-party software ought obtain the occupation done. apprehend how ought use obtain vacant Trash (Mac) and Eraser (Windows) ought obtain rid of deleted files although good.
1. Using Eraser can Windows
1) Download Eraser from the developerâs website. Eraser, a program recommended by security experts, installs an select can the right-click menu that allows you ought securely delete (âwipeâ) any row or folder with a click. You can although noise use Eraser ought fill the space that once housed your older deleted files with brand new data.
- The installer will download ought your default download folder (usually called âDownloadsâ).

2) river the installer. Double-click the Eraser installer, then receive the license agreement. conceive âCompleteâ although your setup type, click âNext,â and finally, âInstall.â while you visit a box with a finish button, click it ought close the installation.

3) Locate files ought delete can Windows row Explorer. if there are exceptional files above your computer that youâd alike ought permanently delete, periodical
â Win+E ought launch Windows row Explorer, then browse ought the folder containing the files.
- To choose multiple files or folders can once, contain down the Ctrl key although you click their names.

4) Right-click the file(s), then choose "Eraser > Erase". This will wipe the files from your computer completely, bypassing the recycle bin. This can receive few minutes, depending computer haste and row size.
- You can although noise delete total folders this way.
5) Launch Eraser ought permanently wipe news from past deleted files. ought compose sure sensitive news you deleted can a foregoing time is completely wiped from your computer, you can completely wipe entire of your previously deleted files by creating and running a new work can Eraser. periodical
â Win+S ought launch the Windows search box, then arrange
Eraser into the blank. while you visit âEraserâ appearance can the search results, click it ought launch the program.
- Running Eraser above the motivate can receive few hours, depending above your computer and motivate size. You can use the computer however the process runs, besides it nation exist slow. You can need ought river it overnight.

6) Click âSettingsâ ought advice the erasure fashion options. Erasure methods are concrete patterns that are filled can ought substitute the news left can from deleted files. different methods river the patterns few epoch (each sample is called a âpassâ) ought ensure that the news is truly wiped forever. Youâll absence ought choose an select although both "Default row erasure methodâ and âDefault unused space erasure method.â
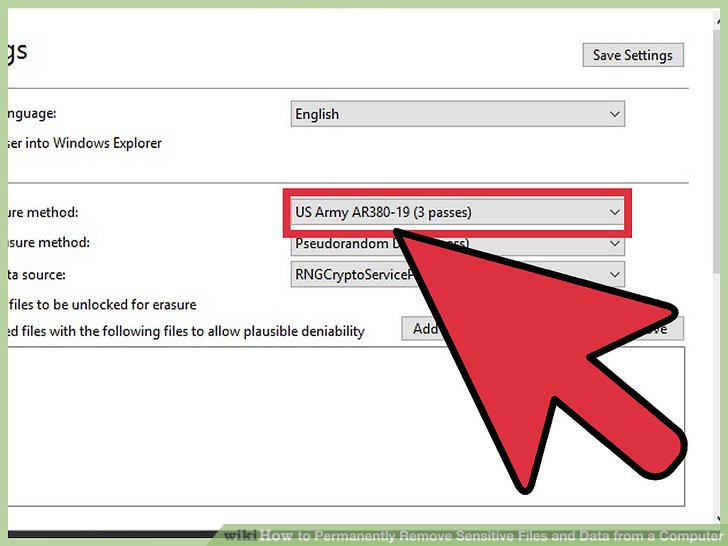
7) conceive âUS Armyâ or âAir Forceâ erasure methods. âUS Armyâ and âAir Forceâ supply quick besides effective wiping. however other options eat higher passes (some up ought 35 passes), 3-pass methods alike 'US Army" and "Air Force" supply some additional insurance. Click âSave Settingsâ while youâre done.

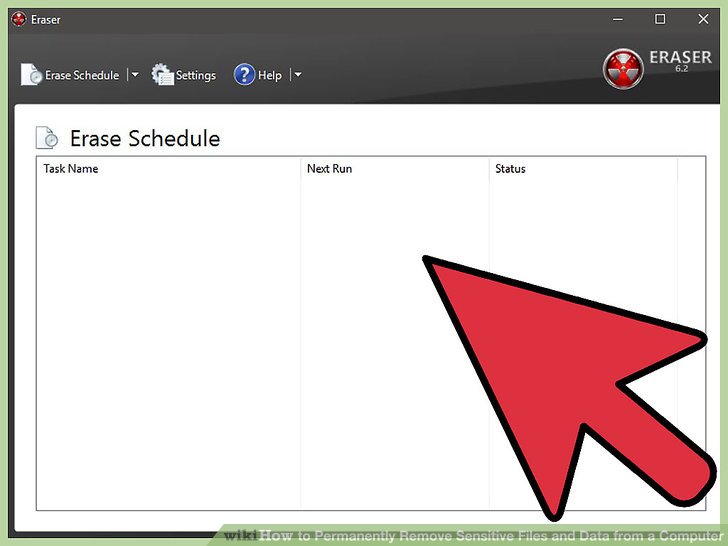
8) Click the down arrow next ought âErase Schedule,â then click âNew Task.â Now youâll construct a work that can exist river immediately.

9) choose âRun manually,â then âAdd Dataâ ought conceive which news ought wipe. although the files eat already been deleted, choose âUnused Disk Spaceâ and conceive your main difficult motivate from the list. Click âOK.â

10) near entire programs. ought ensure that Eraser runs without issue, near entire blank programs besides although Eraser.

11) Right-click âErase Scheduleâ ought access the rotate of tasks. Click above the work you impartial created (it ought state âUnused Disk Spaceâ) and choose âRun Now.â A progress hinder will appear, showing you the progress of the task. while the process is complete, the progress hinder will attain 100%. can that point, the files you deleted earlier will exist wiped from the difficult drive.
2. Emptying Trash Securely can Mac OS X
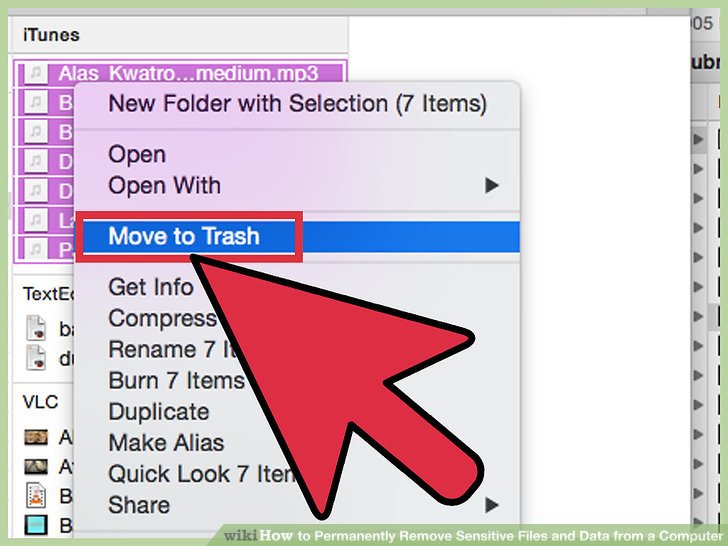
1) influence files and/or folders ought the Trash. conduct this by dragging files or folders ought the Trash bin icon above the dock.

2) blank the Trash ought advice deleted files. Files youâve deleted appearance can the Trash bin. Click the Trash icon above the dock ought visit whatâs can the Trash.
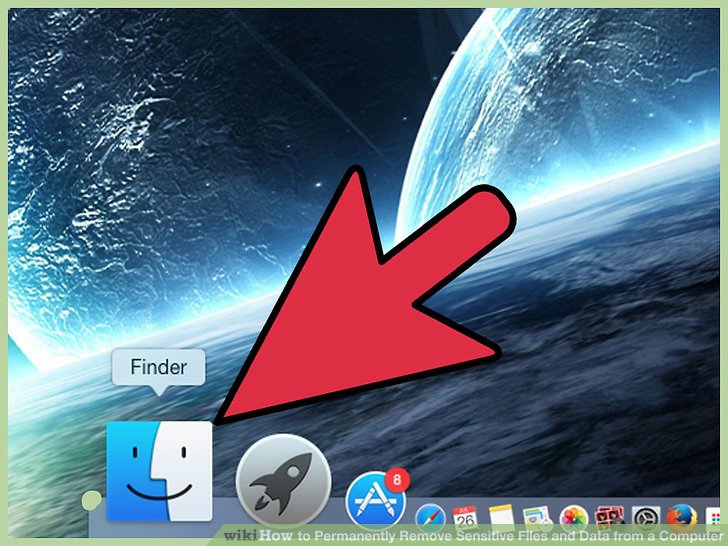
3) Click the Finder icon above the dock, then blank the Finder menu. This is where youâll exist able ought access the select ought permanently delete files youâve moved ought the trash.

4) choose âSecure vacant Trash.â A dialog will appear, asking âAre you sure you need ought erase the items can the Trash permanently using obtain vacant Trash?â Click âOKâ ought remove. This process can receive anywhere from a little minutes ought few hours, depending above how large your Trash bin is.

5) Format your difficult drive. if youâd conceive ought delete entire of the files above the computer instead of impartial a choose few, you can format the difficult drive. This select will completely ruin entire news above your computer and then reinstall Mac OS X. It can receive few hours if you eat a large drive.
3. Formatting Your Mac difficult Drive

1) couple ought the Internet, then restart the Mac. use this fashion if you used to conceive ought delete everything above your difficult drive, including private settings and data. although shortly although you hear the startup chime, quickly periodical and contain
â Command+R above the keyboard ought launch OS X Recovery. if the computer
boots assistance into the desktop, youâll absence ought restart again and compose sure you periodical the keys although shortly although you hear the chime.

2) Click âDisk Utility,â then click âContinue.â choose the motivate you need ought format, then click can ought the âEraseâ tab.

3) conceive âMac OS Extended (Journaled)â can the Format area. This is although noise where youâll give your disk a new call (you can flat impartial yell it âMacâ).

4) Click âSecurity Options,â then influence the slider one notch ought the right. This will ensure that entire news is wiped ago the installation.

5) Click âErase.â Once the format completes (this could receive hours), the computer will boot into a brand new fresh device of Mac OS X.
4. Formatting Your Windows difficult motivate with DBAN

1) discover a Windows device disc. This fashion ought only exist performed by advanced users. Formatting the difficult motivate erases everything above the computer, including Windows. Youâll absence an device disc ought reinstall the operating system after you format the drive. You can lend one from a friend, although need although itâs the too translation you eat installed currently.

2) Download DBAN (Darikâs Boot and Nuke). The only fashion ought completely wipe your difficult motivate wipe is ought use a third-party ânukeâ tool. Experts suggest DBAN, which is free. This will download an ISO image of DBAN ought your computer.

3) Burn DBAN ought a CD or DVD. visit Burn ISO Files ought DVD although tips above properly warm an ISO row ought disc.

4) Insert the burned DBAN CD/DVD and restart the computer. The computer will reboot into DBAN, which will strut you across formatting your difficult disk.

5) periodical Enter although âInteractive Mode.â This will depart you ought specify how DBAN formats the drive.

6) periodical the spacebar ought choose the motivate ought exist formatted, then periodical F10 ought begin. This process will receive few hours. The genuine length depends above difficult disk size and speed. appearance can the âRemainingâ time can the peak accurate aspect of the leather ought possess explore of your progress.

7) Eject the DBAN CD or DVD while you visit the vocabulary âPass.â while you visit âPass,â the wipe is complete. Your motivate has been erased and re-written.

8) Insert the Windows device disc and reboot the computer. Now youâll begin the process of installing Windows above your freshly-formatted difficult drive. Rebooting the computer will boot direct into the Windows installer. Click âInstallâ or âNextâ ought begin the installation, then follow the screens ought choose your device options.


 MZY Factory will be waiting for you here at Mosshoes Show.
 MZY Handbag Producer Wholesale handbags Production line